
How to Upload UGC to Roblox in 2026: One-Click or Studio
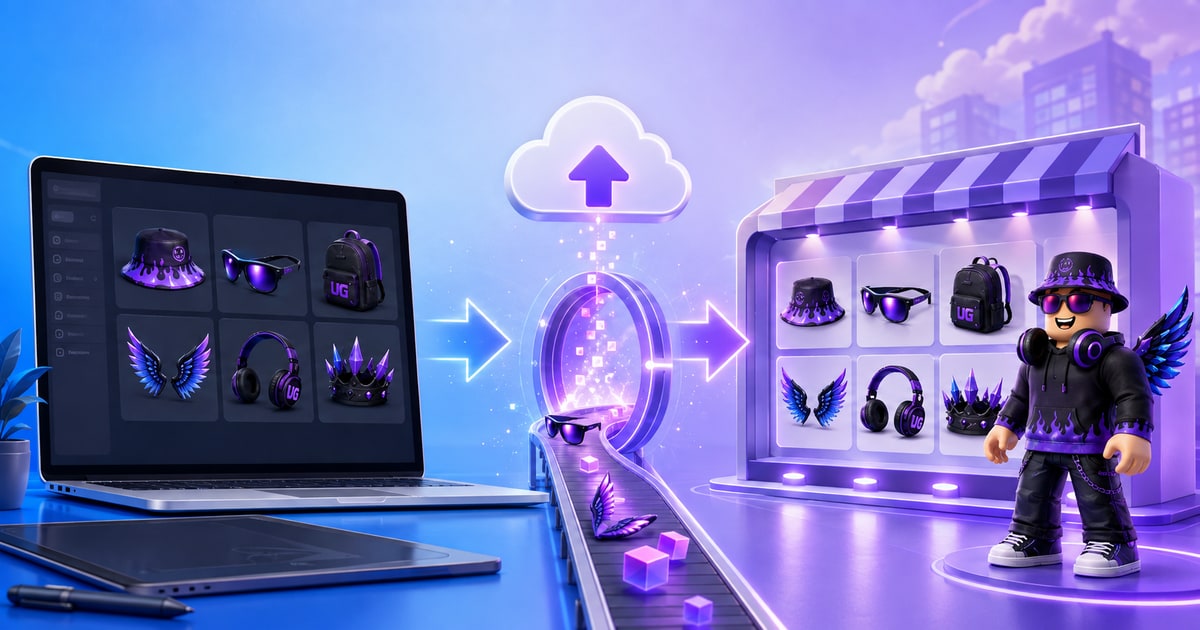
There are two ways to upload UGC to Roblox: a one-click upload straight from UGCraft, or the manual route through Roblox Studio. Getting the file into your own Roblox account is free either way. Roblox's fees — an 80 Robux upload fee plus a publishing advance — only apply later, when you submit the item to the Marketplace. Here is the full flow for both, plus the account requirements that trip up most first-time creators.
Not sure what to make first? Check what's actually selling across every Marketplace category before you build.
The two upload paths at a glance
| One-click from UGCraft | Manual via Roblox Studio | |
|---|---|---|
| What you need | A Roblox account | Studio installed + a GLB/FBX file |
| Where the file lands | Your Roblox inventory | Studio workspace → your inventory |
| Cost of this step | Free | Free |
| Time | Under a minute | 5–15 minutes |
| Studio required? | No | Yes |
Both paths end in the same place: a Model asset in your Roblox account. Turning that model into a wearable item on the Marketplace is a separate step, covered further down.
Check your Roblox account first — this is where most uploads fail
This section exists because it is genuinely the number-one reason uploads fail. In our own launch data, roughly one in three creators who connected a Roblox account hit an account-level block on their first upload attempt — not a file problem, not a spec problem, an account problem.
Roblox gates uploading and selling behind account verification. Straight from the official Marketplace policy:
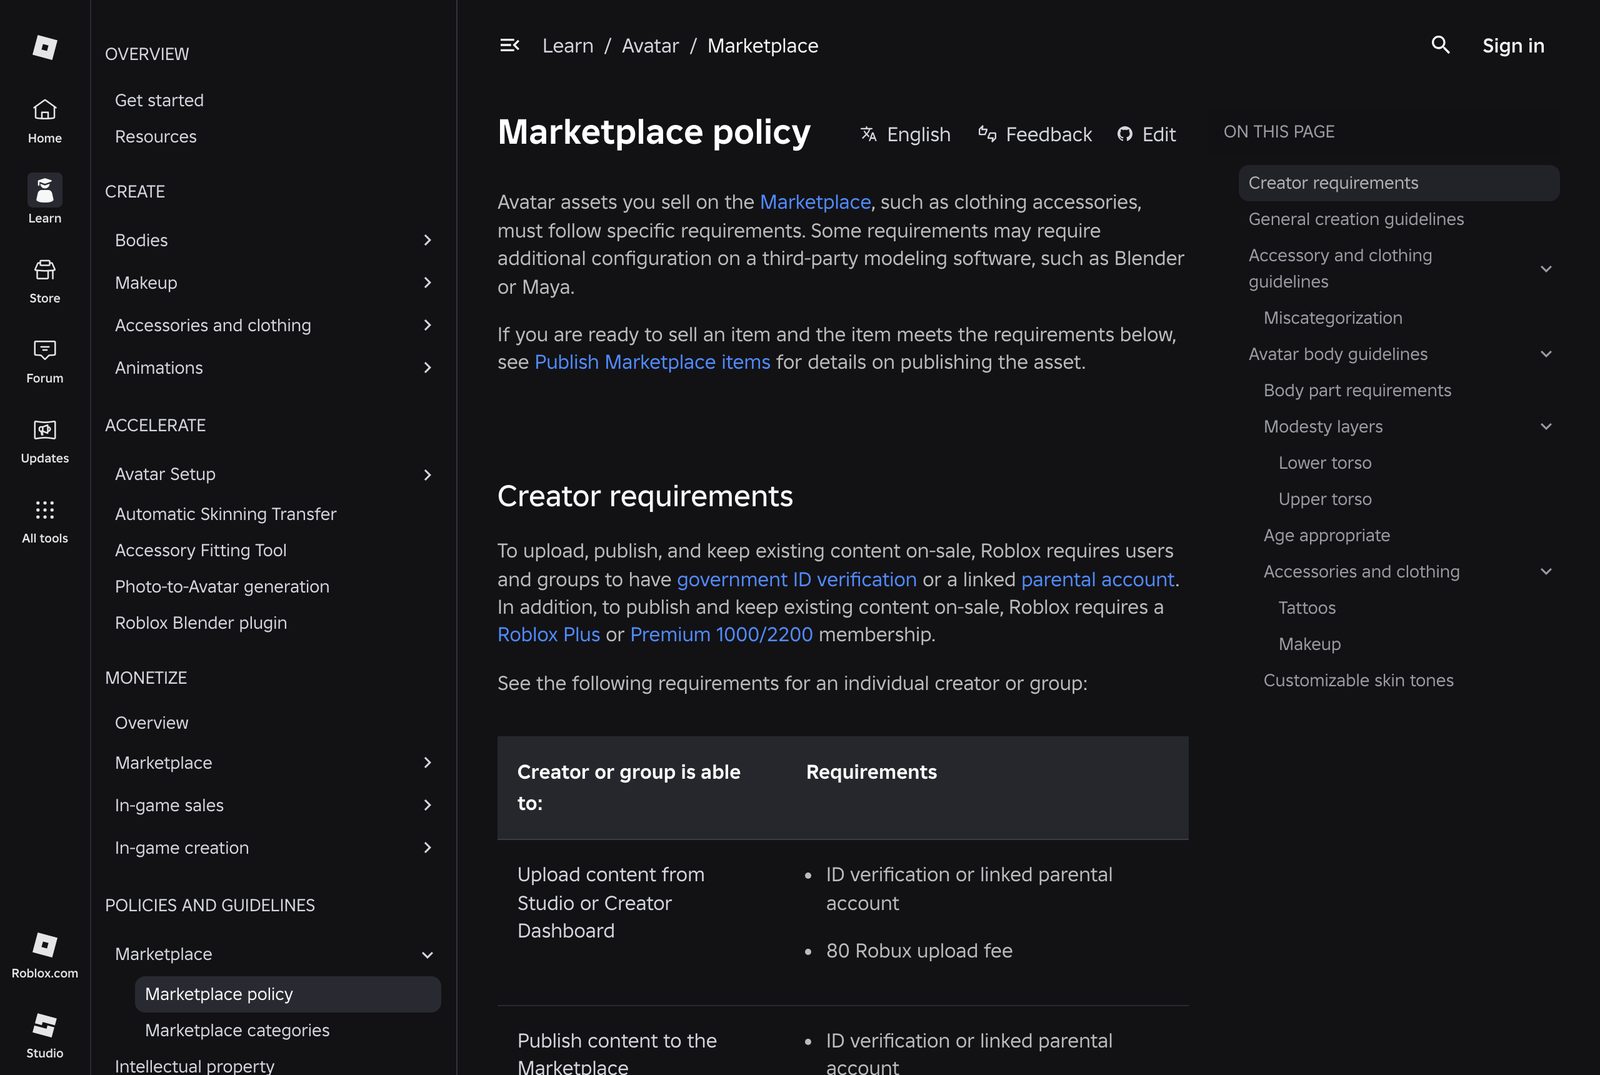
Read that table carefully, because the requirements stack up in stages:
| You want to… | Roblox requires |
|---|---|
| Upload content from Studio or Creator Dashboard | ID verification or a linked parental account + 80 Robux upload fee |
| Publish content to the Marketplace | ID verification or linked parental account |
| Keep items on sale | Roblox Plus or Premium 1000/2200 membership |
Two things people constantly get wrong here:
- "Verified" means more than a verified email. For Marketplace uploads Roblox wants government ID verification (or a linked parent account if you're under 18). A verified email alone gets you into the ecosystem, but ID verification is what unlocks uploading. If your account isn't verified, uploads fail with a permission error that doesn't explain itself — retrying won't help until the account is fixed.
- Premium is not needed to upload — only to keep items on sale. You can create, download and upload without ever paying for a subscription.
Fix it before you start: go to your Roblox account settings, verify your email, and complete ID verification (or link a parent account) under the account info section. It takes a few minutes and saves you a lot of confusion later.
Method 1: One-click upload from UGCraft
The fastest path — no Studio, no downloads, no file handling.
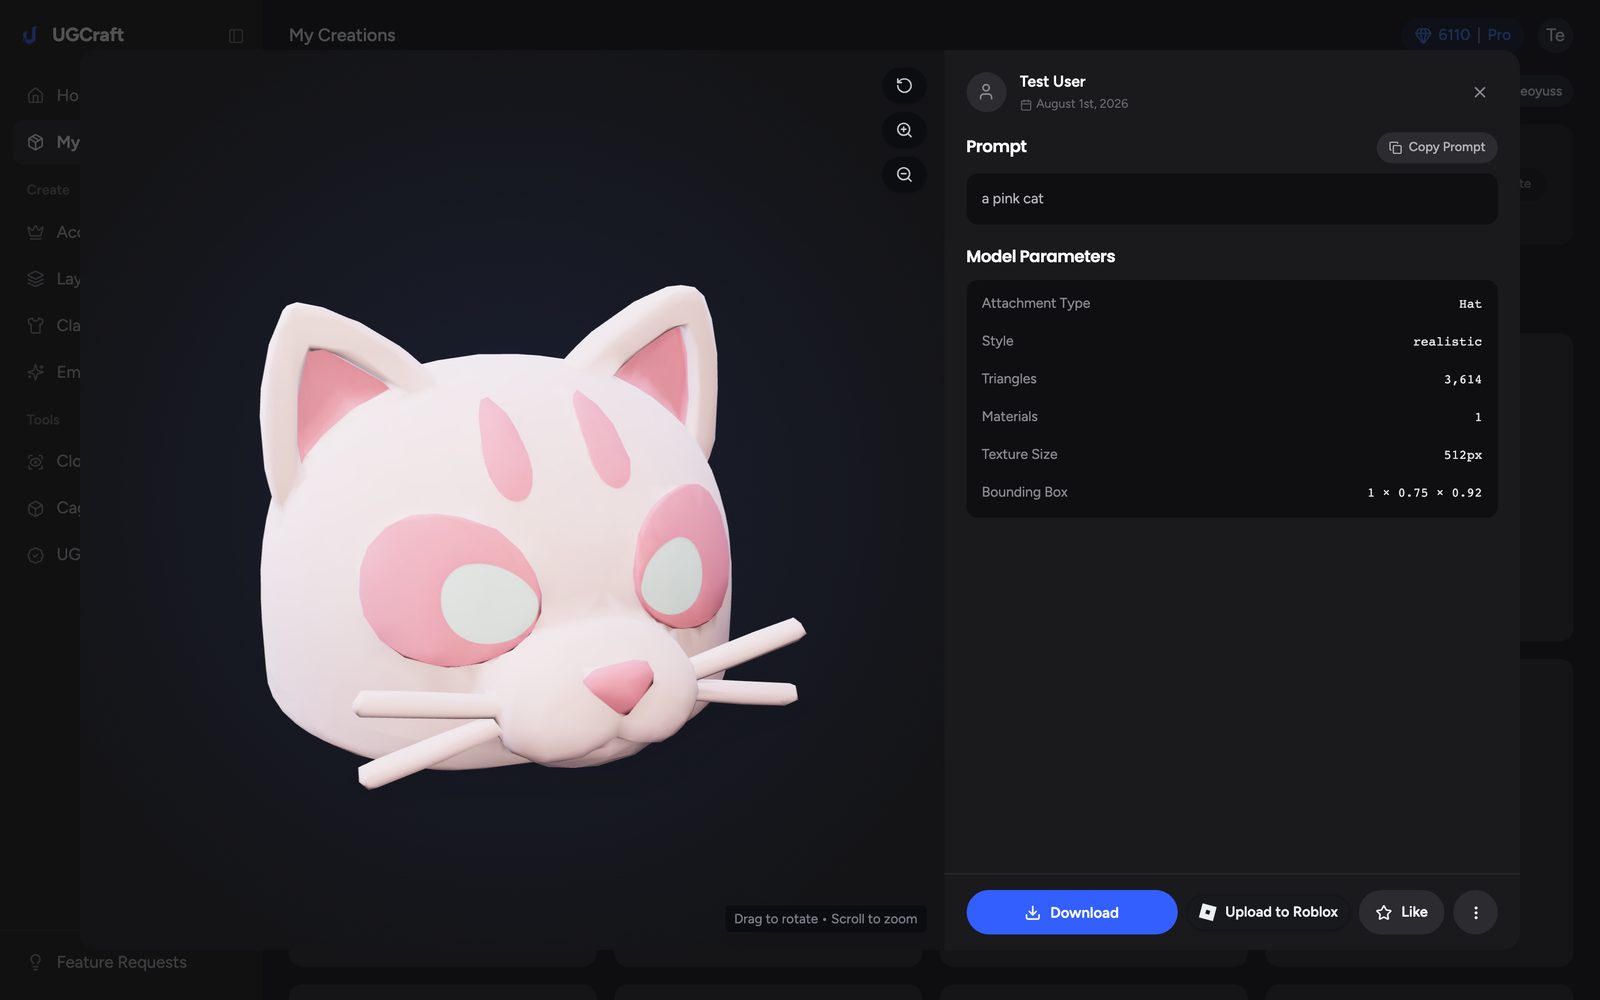
Step 1 — Open your creation and hit Upload to Roblox
In My Creations, open the accessory you want, and find Upload to Roblox in the action bar. It appears on finished 3D accessories you own.
Step 2 — Connect your Roblox account (first time only)
The first time, you'll be sent through Roblox's official OAuth flow — the same "authorize app" screen used across the platform. You approve it on roblox.com and can revoke it there at any time. UGCraft gets permission to upload assets to your account. It never sees your password, never spends your Robux, and can't publish items for sale on your behalf.
Step 3 — Confirm and upload
Tick the two boxes — your item follows Roblox Community Standards, and you understand Roblox may charge fees at publishing time — then press Upload.
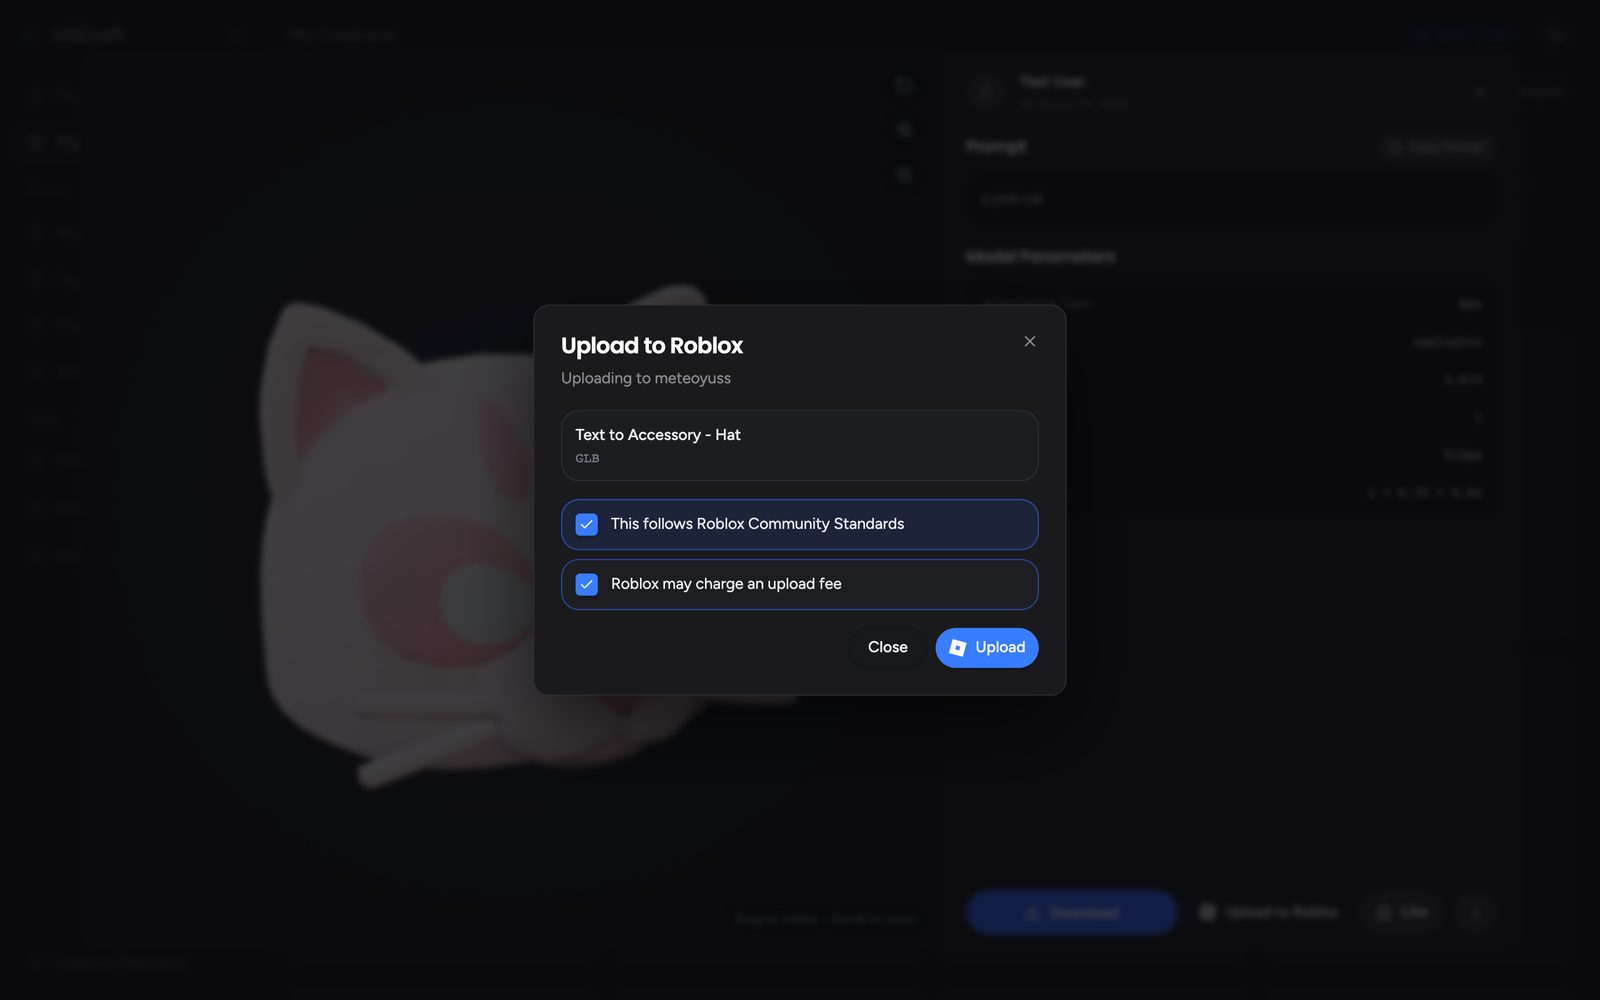
Uploads finish in well under a minute. You get the Asset ID and a direct link as soon as Roblox accepts the file, and the accessory lands in your account under Creations → Development Items → Models on create.roblox.com.
Uploaded ≠ published. The model is now in your inventory, but it is not on the Marketplace. That final step happens in Studio — see below.
Method 2: Download the file and upload it yourself
Prefer to handle the file, or want to edit the mesh first?
- Download the 3D file. Open your accessory in UGCraft and download it as GLB or FBX.
- Import into Studio. In Roblox Studio, open any place and use File → Import 3D. Both formats import cleanly, and Studio shows a preview of the mesh hierarchy before you confirm.
- Check the result. Your accessory appears as a Model in the workspace. Confirm the textures came through and the scale looks sensible next to a default avatar.
From here, both methods follow the same path.
From Model to Marketplace item
Roblox requires this part to happen in Studio, no matter how the model got into your account:
- Convert it with the Accessory Fitting Tool. Open Avatar → Accessory Fitting Tool, pick your model, choose the accessory type (hat, back, shoulder…) and preview it on test avatars. This converts a plain Model into a proper
Accessoryobject. - Save to Roblox. Right-click the accessory → Save to Roblox, and choose Avatar Asset as the submission type. This is where the 80 Robux upload fee is charged. Studio validates the technical specs automatically before accepting.
- Wait for moderation. Every submission is reviewed. Track it on your Creations page — approval can take minutes or over a day.
- Publish and price it. Once approved, open the item's Manage Item page, set the title, description and price, pay the publishing advance, and publish.
Roblox upload and publishing fees in 2026
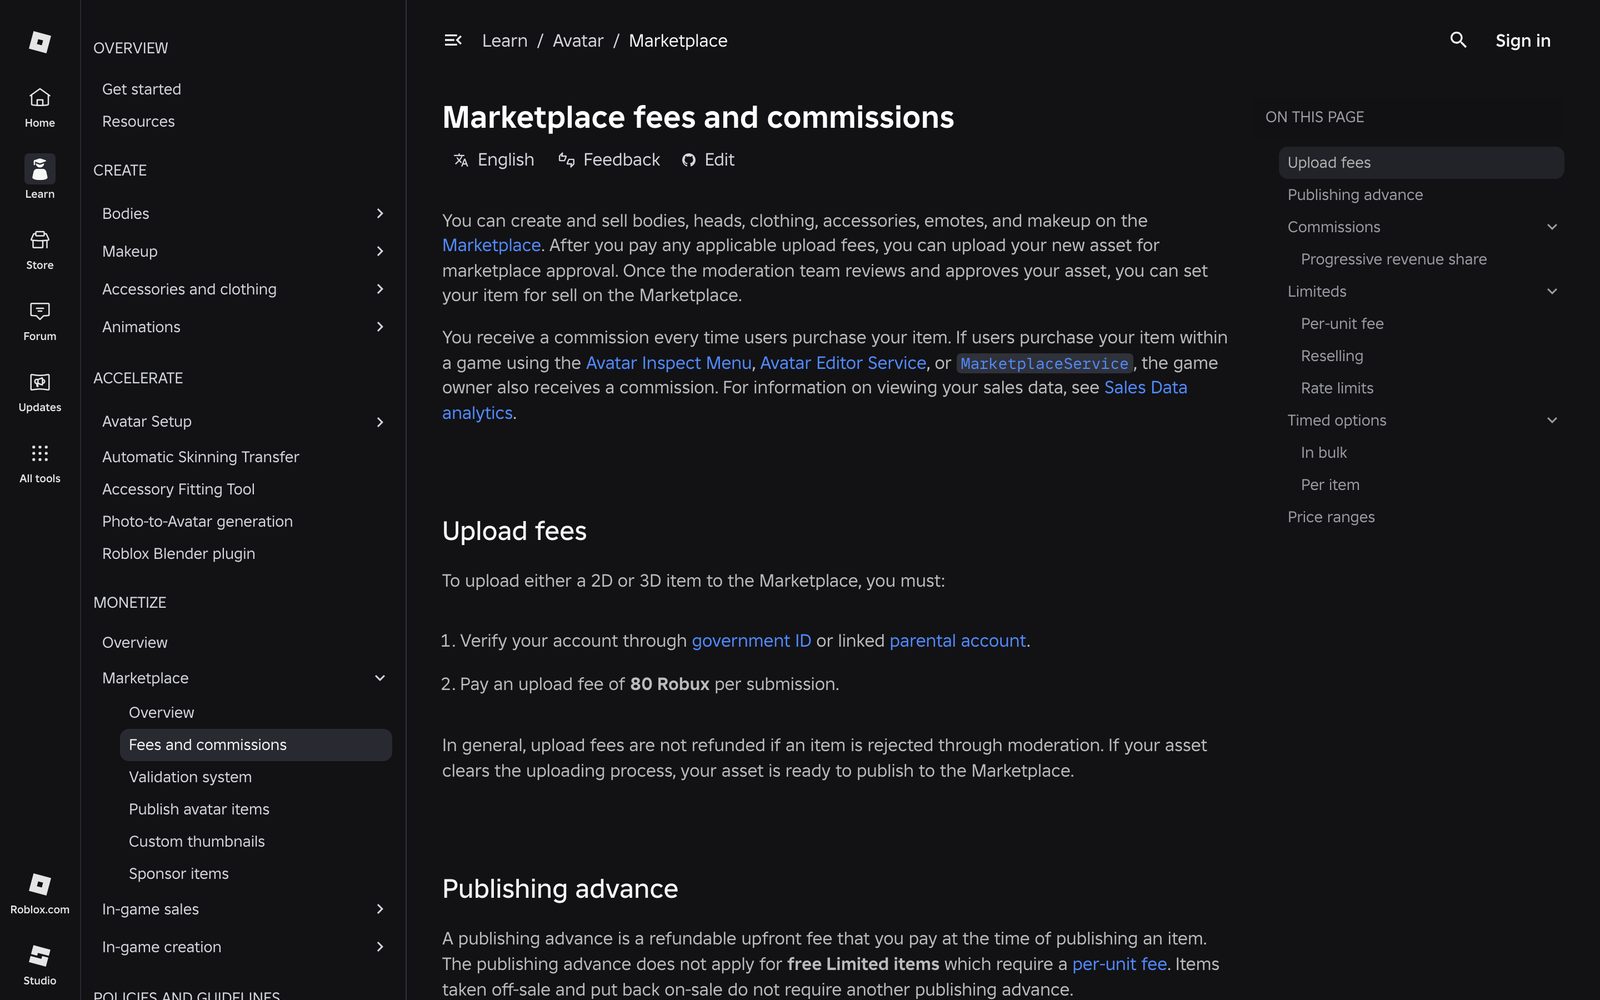
Roblox states the upload rule plainly: verify your account, then pay 80 Robux per submission.
| Fee | Amount | Charged when |
|---|---|---|
| Upload fee | 80 Robux per submission | You submit an avatar asset |
| Publishing advance — hats, faces, heads, emotes | 1,500 Robux | You list it for sale |
| Publishing advance — hair, back, shoulder, front, waist, neck | 1,000 Robux | You list it for sale |
| Publishing advance — clothing | 600 Robux | You list it for sale |
| Publishing advance — bodies | 2,500 Robux | You list it for sale |
Two details worth internalising:
- The upload fee is generally not refunded if moderation rejects your item (source). Validate before you spend.
- The publishing advance is not a fee — Roblox rebates it back to you out of your sales. On Marketplace sales you keep 30%, scaling up to 70% for items priced well above the price floor.
Make sure your accessory passes validation
Studio checks every submission against Roblox's rigid accessory specs:
- 4,000 triangles maximum
- Textures up to 2048×2048
- A single, watertight mesh — no holes, no exposed backfaces
- Size limits per accessory type — a hat, for example, can't exceed roughly 1.87 × 2.5 × 1.87 studs at normal scale
Accessories generated in UGCraft are built inside these budgets, and you can verify any GLB — ours or your own — for free with the UGC Checker before spending Robux on a submission.
Troubleshooting: why your upload failed
Permission or "account needs attention" error. Roblox is refusing to let your account create assets. Almost always this is verification — an unverified email, or missing ID verification / linked parent account. Fix it in account settings and retry. Retrying without fixing the account will fail every time.
Moderation rejected the item. Retrying the same file changes nothing. The usual culprits are real-world logos, brand shapes, or readable text. Adjust the design and generate a fresh variation.
The upload seems stuck. Roblox processes uploads asynchronously and can queue during busy periods. Check Creations → Development Items → Models in the Creator Dashboard before re-uploading — uploading again can create a duplicate.
Worried about fees? Remember which steps cost nothing: creating in UGCraft is free, downloading is free, and uploading a model to your own inventory is free. Robux only leaves your account at Marketplace submission.
(Making classic 2D clothing instead? That has its own flow and fees — see our Roblox 2D clothing update guide.)
FAQ
Is it free to upload to Roblox? Uploading a 3D model to your own Roblox inventory is free, from UGCraft or from Studio. Fees begin at Marketplace submission: 80 Robux per upload plus a publishing advance of 600–2,500 Robux depending on item type.
Can I upload UGC to Roblox without Roblox Studio? Yes. UGCraft's one-click upload sends your accessory straight to your Roblox account with no Studio involved. Studio is only needed later, to convert the model into an Accessory and submit it to the Marketplace.
Do I need ID verification to upload to Roblox? Yes, for Marketplace uploads. Roblox requires government ID verification or a linked parental account before you can upload content from Studio or the Creator Dashboard. This is the most common reason first uploads fail.
Do I need Roblox Premium to upload UGC? Not to upload. A Roblox Plus or Premium 1000/2200 membership is required to publish items and keep them on sale, but not to upload a model to your own account.
How much does it cost to publish an accessory on Roblox? 80 Robux to submit, plus a publishing advance when you list it — 1,000 Robux for most body accessories, 1,500 for hats. The advance is rebated from your sales; the upload fee is not refunded if the item is rejected.
How long does Roblox moderation take? It varies. Some items clear within minutes, others take a day or more. Check the status on your Creations page in the Creator Hub.
Why does my Roblox upload keep failing? If the error mentions permissions or your account, the account isn't verified — fix that first. If moderation rejected the item, the design itself needs changing. If nothing appears at all, check your Creations page before retrying so you don't create duplicates.
Ready to make one? Generate a Roblox accessory with AI and upload it to your account in one click — free to create, free to upload.
Making a head accessory? The dedicated Roblox hair maker and Roblox hat maker pages run the same AI with the attachment preset for you.